How to add an EpsonNet Print port in Windows
EpsonNet Print is a utility program that provides peer to peer printing to Epson printers on a TCP/IP network. Follow the instructions below to add an EpsonNet Print Port in Microsoft Windows.
- Open Devices & Printers / Printers & Scanners, for instructions on how to do this click here.
-
Open Printer Properties:
-
Windows 7, 8 & 10
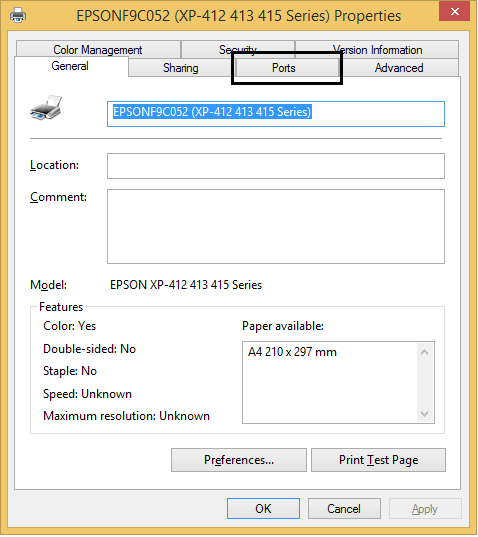
Locate and right-click on your Epson printer icon in the Devices and Printers folder and click on Printer Properties. -
Windows 11
Locate and click on your Epson printer icon in Printers & Scanners, and select Printer Properties.
-
Windows 7, 8 & 10
-
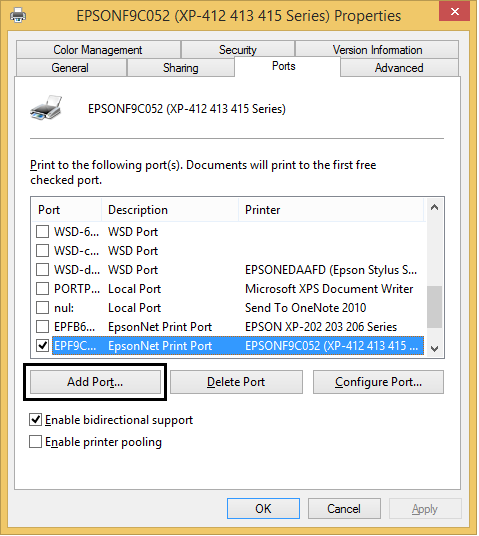
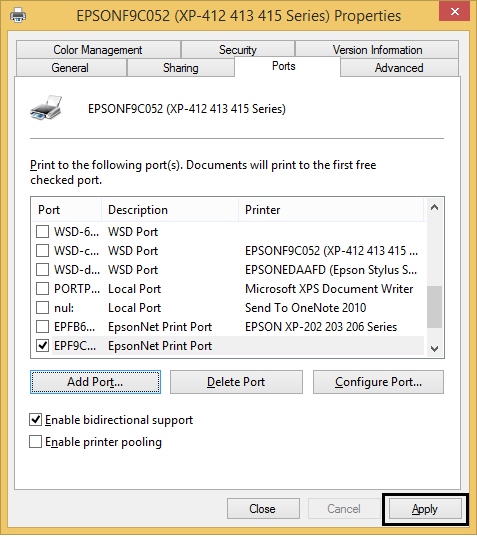
Click on the Ports tab.
-
In Ports, click on Add Port.
-
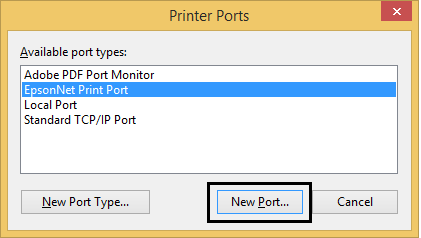
The Printer Ports window will appear with a choice of ports to add, click on EpsonNet Print Port from the list, then click on New Port.
-
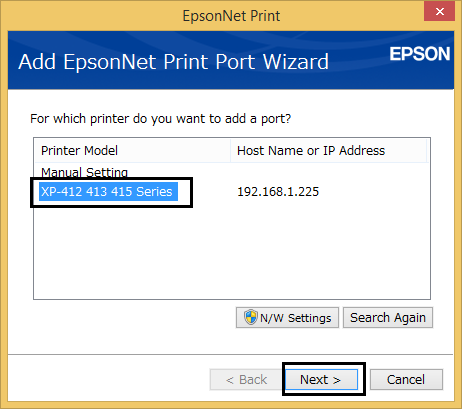
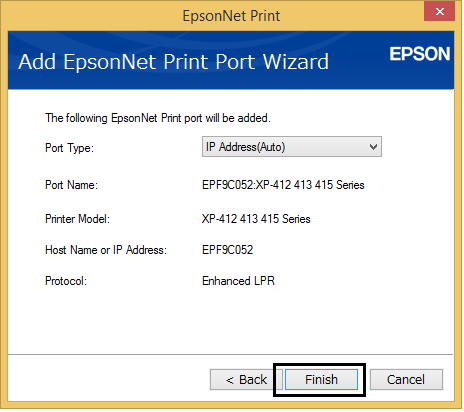
The Add EpsonNet Print Port Wizard will appear, displaying a list of printers detected on the network. Select the Printer Model from the list and then click Next. If the target device is not in the list, click Search Again.
-
The summary of the device and port will be displayed, the default Port Type is IP Address(Auto), this can be changed as required. Click Finish.
-
It will return to the Printer Ports window, click Cancel.

-
In the Ports window, the port will now have ticked box beside it, click on Apply.
- The printer driver is now configured, try printing a Test Page to test the port. Click here to find out how to print a Test Page in Microsoft Windows.
- Click OK to close the Properties window.
|
If you do not have the choice of EpsonNet Print Port, this means that EpsonNet Print has not been installed. We recommend downloading EpsonNet Print from the Epson support website. |